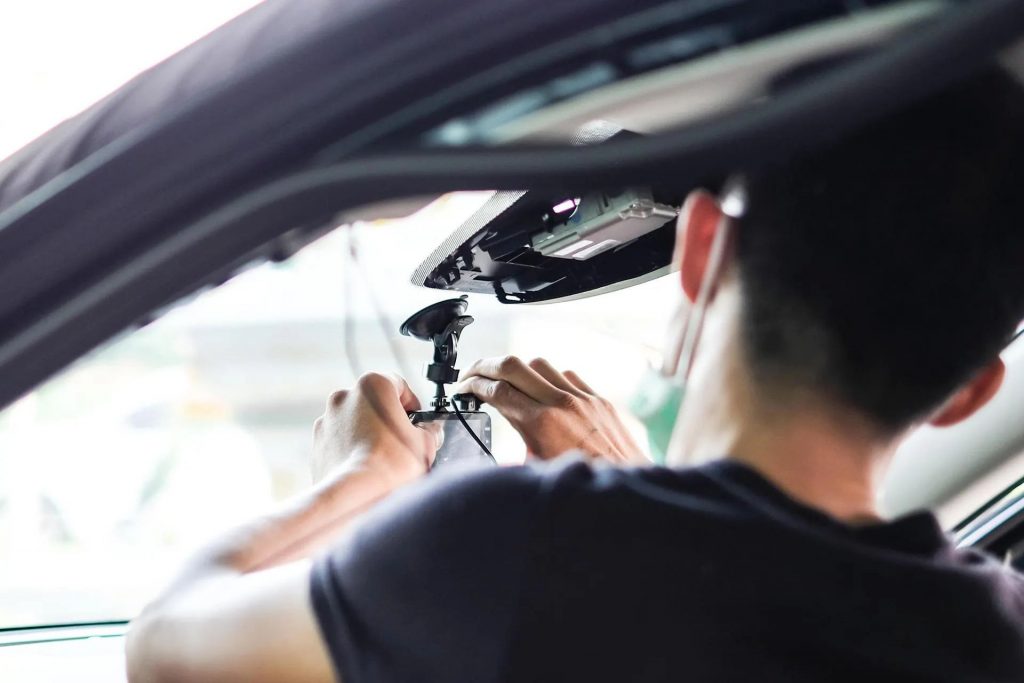
Dash cams can be mounted and attached to a vehicle in several ways. They can be portable, so you can easily remove them, but they can also be hardwired permanently.
But what if you want to remove a permanently hardwired dash cam and install it in another vehicle? Do you think that’s possible? Absolutely!
In this article, I will inform you how to remove a hardwired dash cam in several easy steps. Keep reading to find out.

How to Remove a Hardwired Dash Cam
Removing a hardwired dash cam can be equally challenging as installing it. There are three major steps involved:
- Locating and disconnecting the wires from the fusebox.
- Removing the wires from under the car’s interior trim.
- Removing the dash cam from the windshield.
The exact way of removing the dash cam from your car can vary depending on your car model. It can also depend on whether or not the dash cam is installed in the front or rear of the car.
Whatever the case, the instructions I will provide below will give you a general understanding of how to remove a hardwired dash cam from any vehicle.
Let’s get started.
Read more: Which Fuse To Use For Dash Cam BMW?
Tools You Will Need
Before you can start to remove the hardwired dash cam from your car, you need to make sure that you have the following tools:
- A set of nose pliers
- Flathead and Phillips head screwdrivers
- Different size trim tools (preferably plastic ones)
- Heat gun (you can also use a hair dryer)
- Safety goggles
- A pair of gloves

Step-By-Step Guide
Step 1. Locate and disconnect the wires from the fusebox
Before you start removing the dash cam, make sure to wear protective gloves and safety goggles at all times.
The first thing you have to do is disconnect the dash cam from the main power supply.
Since I am instructing you on how to remove a hardwired dash cam, I can only assume that it is wired directly into the car’s power supply via the fusebox.
If that’s not the case and your dash cam is powered from the cigarette lighter socket instead, then simply remove the wires from the socket to begin the removal process.
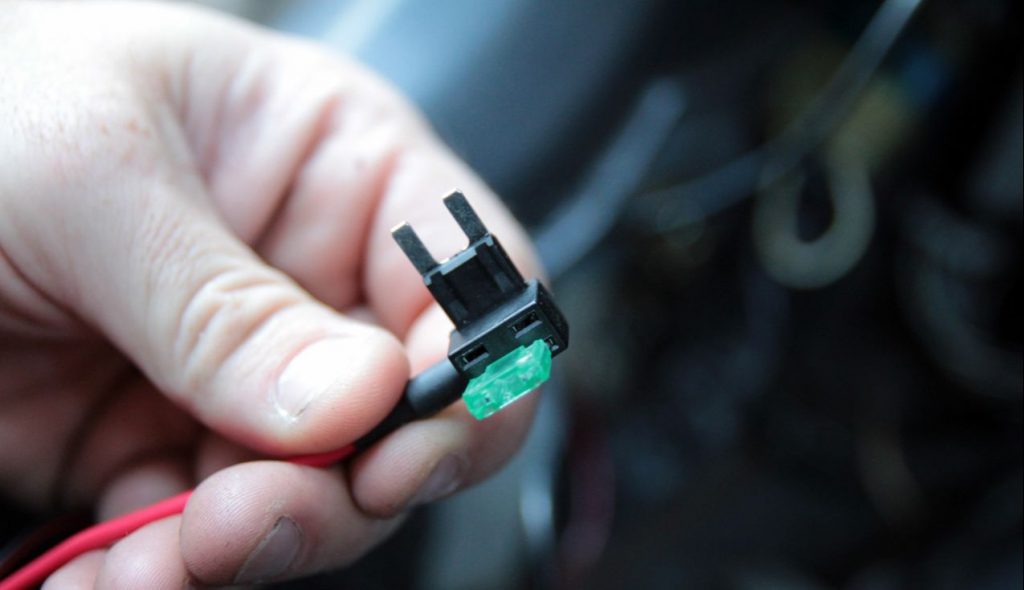
Once you find your car’s fusebox, open it, and locate the fuse which powers your dash cam. This should be relatively easy.
The fuse you’re looking for should have wires connected to it. Those are the wires that run internally, under the trim of the interior, directly to the dash cam.
You can easily verify that these are the correct wires by disconnecting them from the fusebox. Once you do this, you will cut power to the dash cam, and it will shut down.
Remove the fuse using nose pliers while the car is powered down. Avoid touching any electrical components while the car is running.
Step 2. Carefully remove the trim in the interior
Once you disconnect the dash cam wires from the fusebox, the next step is to identify the path of the wires to the dash cam itself.
If you can clearly see under which trim the wires are going, slowly remove it using an appropriately sized trim tool. The best starting point is where two trims meet or where a plastic pin holds the end of the trim.
The interior trim on some cars may be fixed into position with screws. If so, determine the types of screws and use a flathead or Phillips head screwdriver to remove them.
Remember to always use protective goggles and gloves when removing the trim. It may have sharp edges, and you want to avoid cutting yourself by accident.
After you’ve removed all the wires, reassemble the trim and put it in its proper place, paying attention not to break it in the process.
Also read: Can You Use A Dash Cam Without Wires?
Step 3. Remove the dash cam from the windshield
The last step is to remove the dash cam from the windshield.
Since the dash cam will be glued to the windshield with a strong adhesive, there are two ways in which you can approach this.
First, you can remove the dash cam using a plastic trim tool while carefully not applying too much force. If you notice that the dash cam starts to move, then you can easily loosen it from the windshield.
If you can’t remove the dash cam with a plastic trim tool alone, you can use a heat gun or a hair dryer to apply heat outside the windshield against the adhesive. This will soften the adhesive, allowing you to remove the dash cam easily with the trim tool.
