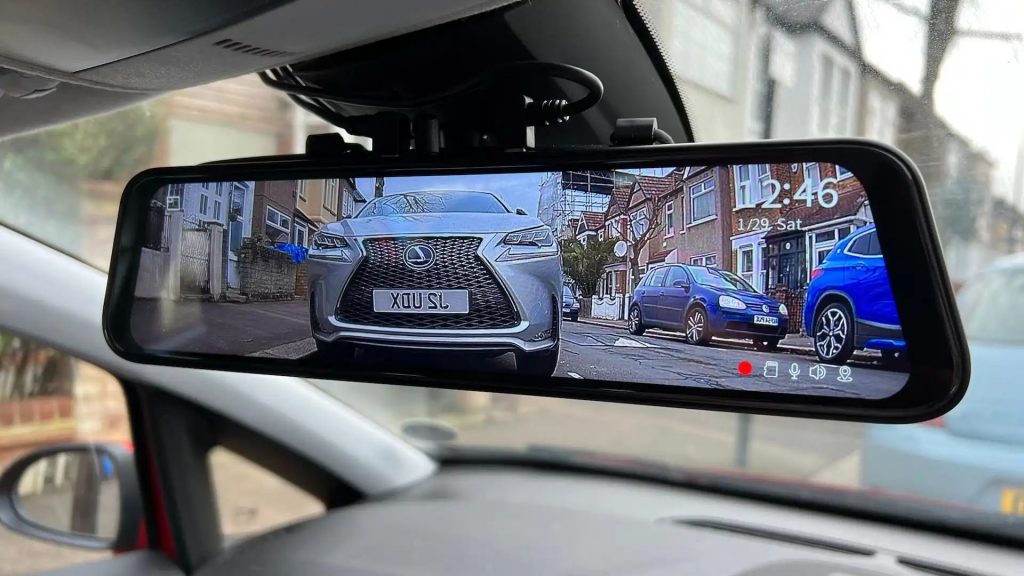
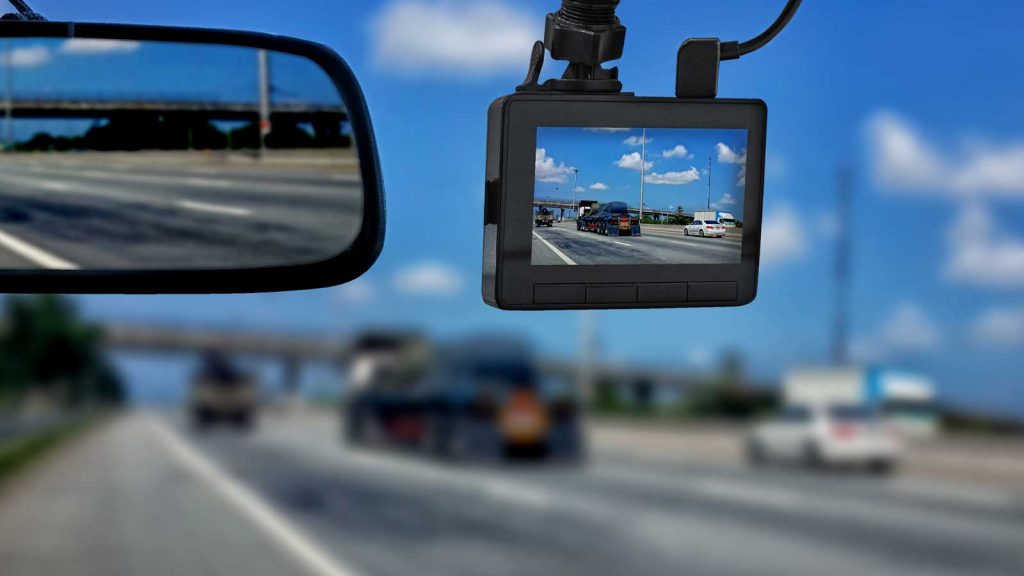
The HD mirror cam comes with a completely new rearview mirror. But you don’t remove your existing one. You place the HD mirror dash cam over the existing mirror, securing it with the rubber bands included in the package.
The best thing about this type of dash cam is its discretion. Compared to traditional dash cams, which are pretty visible even if they are tiny and match the interior color.
If you opt for an HD mirror dash cam, I would like to let you know that it has a little bit different instructions and settings. Keep reading below to learn how to operate HD mirror cam.

How to Operate HD Mirror Cam
The mirror HD cam has all the tools, equipment, and manual for its installation. So, insert the mini SD card in the back of the mirror, and plug the camera into the power outlet.
Then, turn it on and manage the settings using the buttons on the HD mirror cam. Change the filming mode, manage the settings on the menu, and capture footage.
Managing the HD mirror cam is easy because it is a display device with a mirror section that you can use as a rearview mirror. You can see the buttons on the bottom that look like a computer monitor.
As you can see, the buttons on the HD mirror cam have tiny icons on them. The cam has an inbuilt battery that lasts a few hours in continuous work, but it is best to use it plugged in to see how it works.
Read more: What Is the Best HD Mirror Cam?
HD Mirror Cam: All Functions Explained
The power button has two functions. The first one is the standard, power on and off the device. The second function is to change the daytime and nighttime mode.
Once you turn on the camera, you can press this button and change the daytime or nighttime mode by pressing once at a time.
You can turn the camera screen off using this button and continue using only the mirror. You can also turn the screen back on. The camera will not turn off if you make these changes.
Pressing this button will open the device’s settings. There, you can change the video resolution, add or remove the time stamp on the footage, turn on and off the motion detection feature, check the video time, and turn the voice recorder on and off.
Resolution
The HD mirror cam works with high resolution, but you can change it to higher or lower if you want to save more storage.

Timestamp
This feature is used if you want your video to have a timestamp on the footage so that you can clearly see the date and time of a specific moment. You can also turn this feature off.
Motion detect
This feature is excellent if your vehicle is parked and somehow, something or someone passes by your car, intending to damage it or do something else.
If you have turned on the motion detector, the cam will capture footage when its sensors notice movement around the vehicle, but it will use the battery power to perform these actions when the vehicle is off.
Video time
You can see how long the cam is recording.
Voice record
You can turn on and off the voice recorder, depending on your personal needs.
The cam has multiple modes you can change by pressing this button. You can opt for the one that matches your needs at a certain moment.
- Record mode
- Picture mode
- Audio mode
- Playback mode
You can take an immediate picture by pressing this button. Capture a license plate or someone involved in a car crash or other situation.
These buttons let you navigate through the menu.
The OK button is to choose an option when you change the settings or mode on the HD mirror cam device.
Also read: How Does Loop Recording Work on a Dash Cam
Conclusion
After you’ve learned how to operate HD mirror cam, you can freely buy one. Hopefully, you’ve found this guide helpful!
