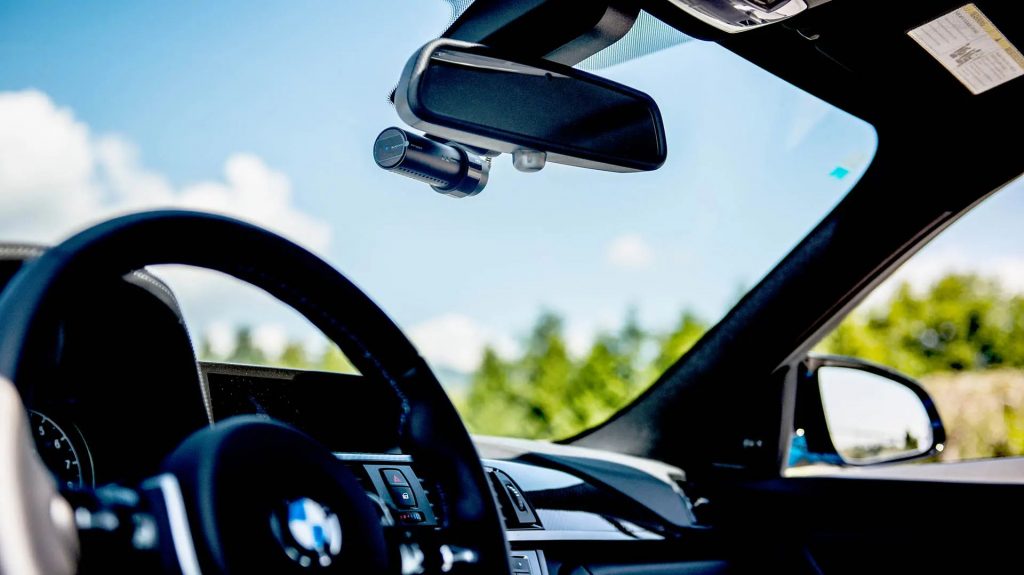
Mounting a dash cam in the car is easy. You simply attach it to the rearview mirror and connect it to a power outlet. But the rear dash cam is something different. So, how and where to put rear dash cam?
Because the rear dash cam faces the back of the car, it should be mounted somewhere in the back. The place where you should put the rear dash cam depends on the kind of vehicle you want to install it on.

Where to Put Rear Dash Cam?
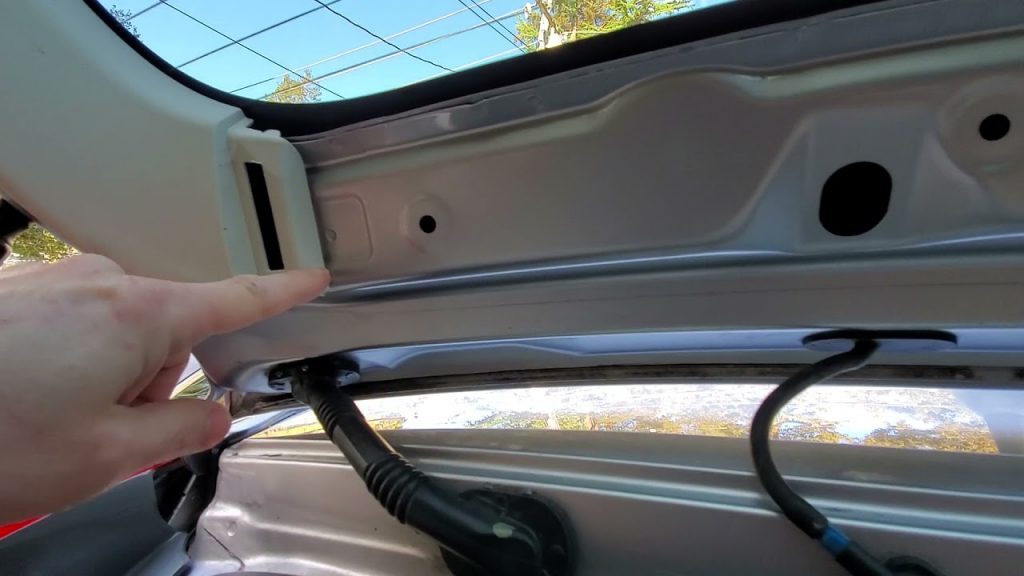
The rear dash cam goes on the back windshield. Depending on the vehicle, you can either stick it on the windshield glass or attach it to the hoses that connect the liftgate. Placing the dash cam is easy, but you must pay attention to the wired connection.
The rear dash cam needs a longer cable than the regular front dash cam. The best position to place the rear dash cam is in the middle of the back windshield glass, which would not cover the view in the rearview mirror.
Once you find the best spot, you can either stick the rear dash cam on the glass or hook it on the liftgate, depending on your vehicle type.
Also, if you have a truck or vehicle that cannot place the cam on these spots, you can purchase a license plate dash cam.
No matter which camera type you opt for, collecting all necessary equipment and tools is best to mount the cam successfully.
Guide: How and Where to Put Rear Dash Cam?
Step 1. Get the needed tools and equipment
You should supply the needed tools depending on where you will put the rear dash cam — for example, sticky tape, screwdriver, cords, pliers, screws, microfiber towel, etc. Having all tools by hand makes the process much faster and easier.
Also, measuring how much cable length you will need to connect the dash cam is good. Rear dash cams need a longer cable, considering all the way you should hide the cord and connect it to the power outlet.
Read more: Can A Dash Cam Be Mounted Upside Down?

Step 2. Clean up the area
Whether you install the rearview dash cam on the windshield or license plate, it is best to clean the area first. Removing the dirt and dust from the surface enables you to place the camera properly.
A clean windshield and license plate allow you to install and secure the camera correctly without the possibility of it moving around or falling.
Step 3. Place the dash cam
As I mentioned, there are multiple rear dash cam models. Each has a different installation method, like sticking, hooking, or placing screws on the license plate.
Regular windshield dash cam
If you choose the windshield dash cam, you easily remove the protective foil from the adhesive and stick it to the glass. These cams might also come with a vacuum sticker instead of adhesive.
Hooking dash cam
The hooking dash cam is often used in vehicles like hatchbacks or SUVs. It is usually hooked on the fold that the liftgate connects to the vehicle.
Some dash cams for these vehicles have a hook that keeps the dash cam steady when the liftgate is open.
License plate dash cam
The license plate dash cam has included equipment and must be mounted on the exact license plate and secured with the same screws.
Step 4. Connect the cable and test the connection
Once you know how much cable length you need, connect the dash cam to the fuse box by opening a fuse cell. Meanwhile, hide the cable in the frame and put a tiny piece of tape to secure it if needed.
Tape the wires together with electrical tape and test the connection. See if the camera is positioned well and captures a good angle.
Also read: How to Hardwire Dash Cam for Parking Mode
Conclusion
So, where to put rear dash cam? As you saw, installing a dash cam is not difficult.
You only need to be careful with the wired connection and purchase the best cord length to connect the rear dash cam to the fuse box all the way from the back to the front.
I hope these four steps have successfully helped you mount the rear dash cam.
