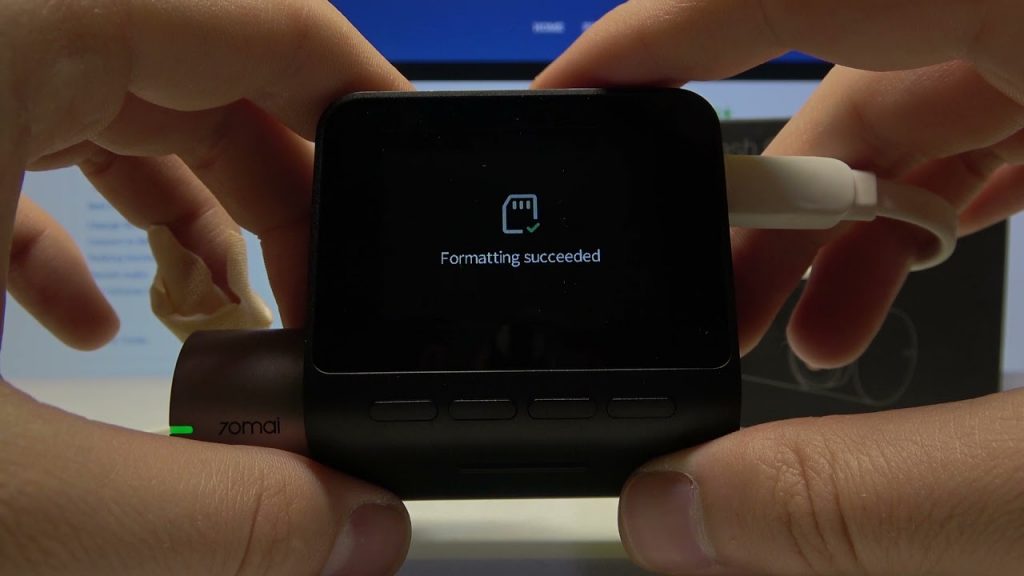
If you are a regular user of your dash cam, you are probably familiar with the fact that you need to frequently format the SD card in the camera so that both can function optimally and normally.
But, although it might sound easy, many people are still unsure how to format SD card for dash cam, and that’s when I come to the rescue. In this article, you will be able to read how to do it in the quickest and most efficient ways possible. So, let’s begin.

How to Format SD Card for Dash Cam
With the right and simplified step-by-step instructions, anyone can learn to format an SD card for a dash cam, regardless of their technical experience or knowledge.
With that in mind and following the straightforward instruction I share in this article, you will be able to format the SD card for the dash cam within a few minutes.
As there are three ways you can do this, I will explain all three methods of how to format SD card for dash cam in continuation of this article.
Read more: How to Delete Dash Cam Recordings
On the dash cam itself
The first and most popular way to format an SD card for a dash cam is by doing it on the dash cam itself. The process is straightforward, and it can get done only within a few minutes.
- The first thing you will need to do is turn on your dash cam.
- Then, as the dash cam will start automatically recording, press on the left ‘Circle’ icon that can usually be found in the screen’s left bottom corner. This will make it stop recording.
- After your dash cam does not record footage anymore, go to the dash cam’s ‘Settings’ option, which is the ‘Gear’ icon in the upper right corner of the dash cam screen.
- When you open the dash cam’s Settings, find the ‘Setup’ option and open it.
- Under the ‘Setup’ option, you will need to scroll down until you find the ‘Format SD Card’ option.
- Click on the ‘Format SD Card’ option and then follow the automatically given instruction for your specific dash cam model.
After successfully following the instructions, your dash cam SD card will be formatted, refreshed, and ready to use again.
On a Windows computer
If you want to know how to format SD card for dash cam with the help of your Windows computer, there is nothing easier. Follow the simple steps below, and in no time, the SD card from your dash cam will be as good as new.
- First, you will need to take the SD card out of the dash cam and insert it into the SD card reader, which then needs to be inserted into the USB port of your computer.
- You will need to wait a few seconds until your computer recognizes the SD card. After this successful process, you will see the drive in your ‘My Computer’ option.
- After the drive appears, right-click on it.
- Find and select the ‘Format’ option from the list of available options.
- A new window will pop up when you do this, and you must untick the ‘Quick Format’ box.
- Finally, on the screen, you will see the SD card formatting instructions, which you will need to follow until the SD card is completely formatted.
Important note
Remember that formatting the SD will delete all the data on it, so if you want to save some particular footage or recording, ensure to copy it to your computer before processing the SD card formatting.
Also read: What Size SD Card for Dash Cam?
On an Apple Mac computer
When you want to format the SD card from the dash cam on your Apple Mac computer, just follow the next steps:
- First, take the SD card out of the dash cam and insert it into a USB reader. Then, insert the USB reader into the USB port on your Mac computer.
- Wait until the SD card is recognized, and then download, unzip, and install the software. This software will help you properly format your Mac’s SD card.
- After successfully installing the software, open the program and ensure to select the Overwrite format option instead of the Quick format option.
- Ultimately, your dash Cam SD card will be formatted and ready to use again.
